Read my previous article – an overview on how to post cropped ears that describes different ear posting methods.
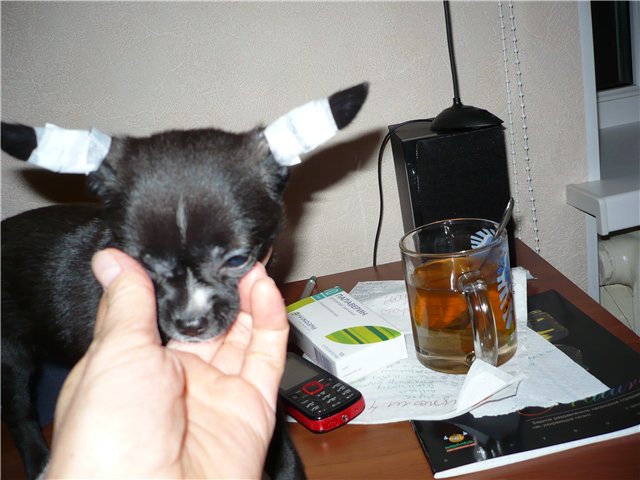
Well, Chihuahuas also want to be pretty! For the lack of another image, I’m using this photo (found online). I think this is the easiest way to post cropped ears. It is easy for a dog to carry, it is flexible (it bends and pops back up), it is cheap (uses only tape), it is quick and simple to tape even for one person.
This method seems to be more popular in Eastern Europe, than anywhere else. I remember using this method back in Ukraine 15 years ago.
All you need is athletic tape. It wraps the ear spirally from bottom to top in a few simple steps. The whole procedure takes only a few minutes.
- Pull the ear tightly up.
- Push the ear pocket up: place the tape around the large bump inside the ear. Note that you always should wrap towards the ear flap (towards the forehead).
- Twist the ear and wrap the tape around the base of the ear a few times (keep pulling the ear up while wrapping the tape).
- Wrap the tape around the middle of the ear. Not too tight. If the tips of the ear became swollen (hot and soft) – it means the tape is too tight and you should re-post ears.
- Tape the tips of the ear (not shown in the video below).
- No need to add the bridge between the ears (tape ears together). This will cause pockets to sag.
I use this method in between posting with tampons, and during the correction phase. The only downside that I see in this method is during hot summer days. The whole ear flap is covered with tape. On the hot summer days the glue from the tape melts a bit, that can cause infection if there is any cuts on the ear (which is also true about the ear posting method with tampons). I only kept ears wrapped for no more than 3 days. Given the simplicity of this method – it is quick to re-post them.
There are several alternative methods to tape tubule method:
- A light ear posting method using tape only – tape crown.
- Ear posting with tampons.
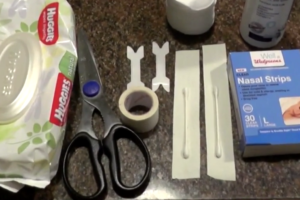
- Posting ears with cotton swabs and nasal strips.


